I remember left some cutting and hammering staff.

There are used fin to attach BB shell.
The iron sheet for Fender was bent by hammering.

Done. For the next step, I need English wheel. I don't have it. I'm going to borrow it at my friend's garage.

This time, 40 x 40 rectangular tube is used as the center frame.

This is for front part which will have BB shell.

There are parts for the column to attach front controller deraileur.

Two slits are made for welding.

Welded.

Then sanding.

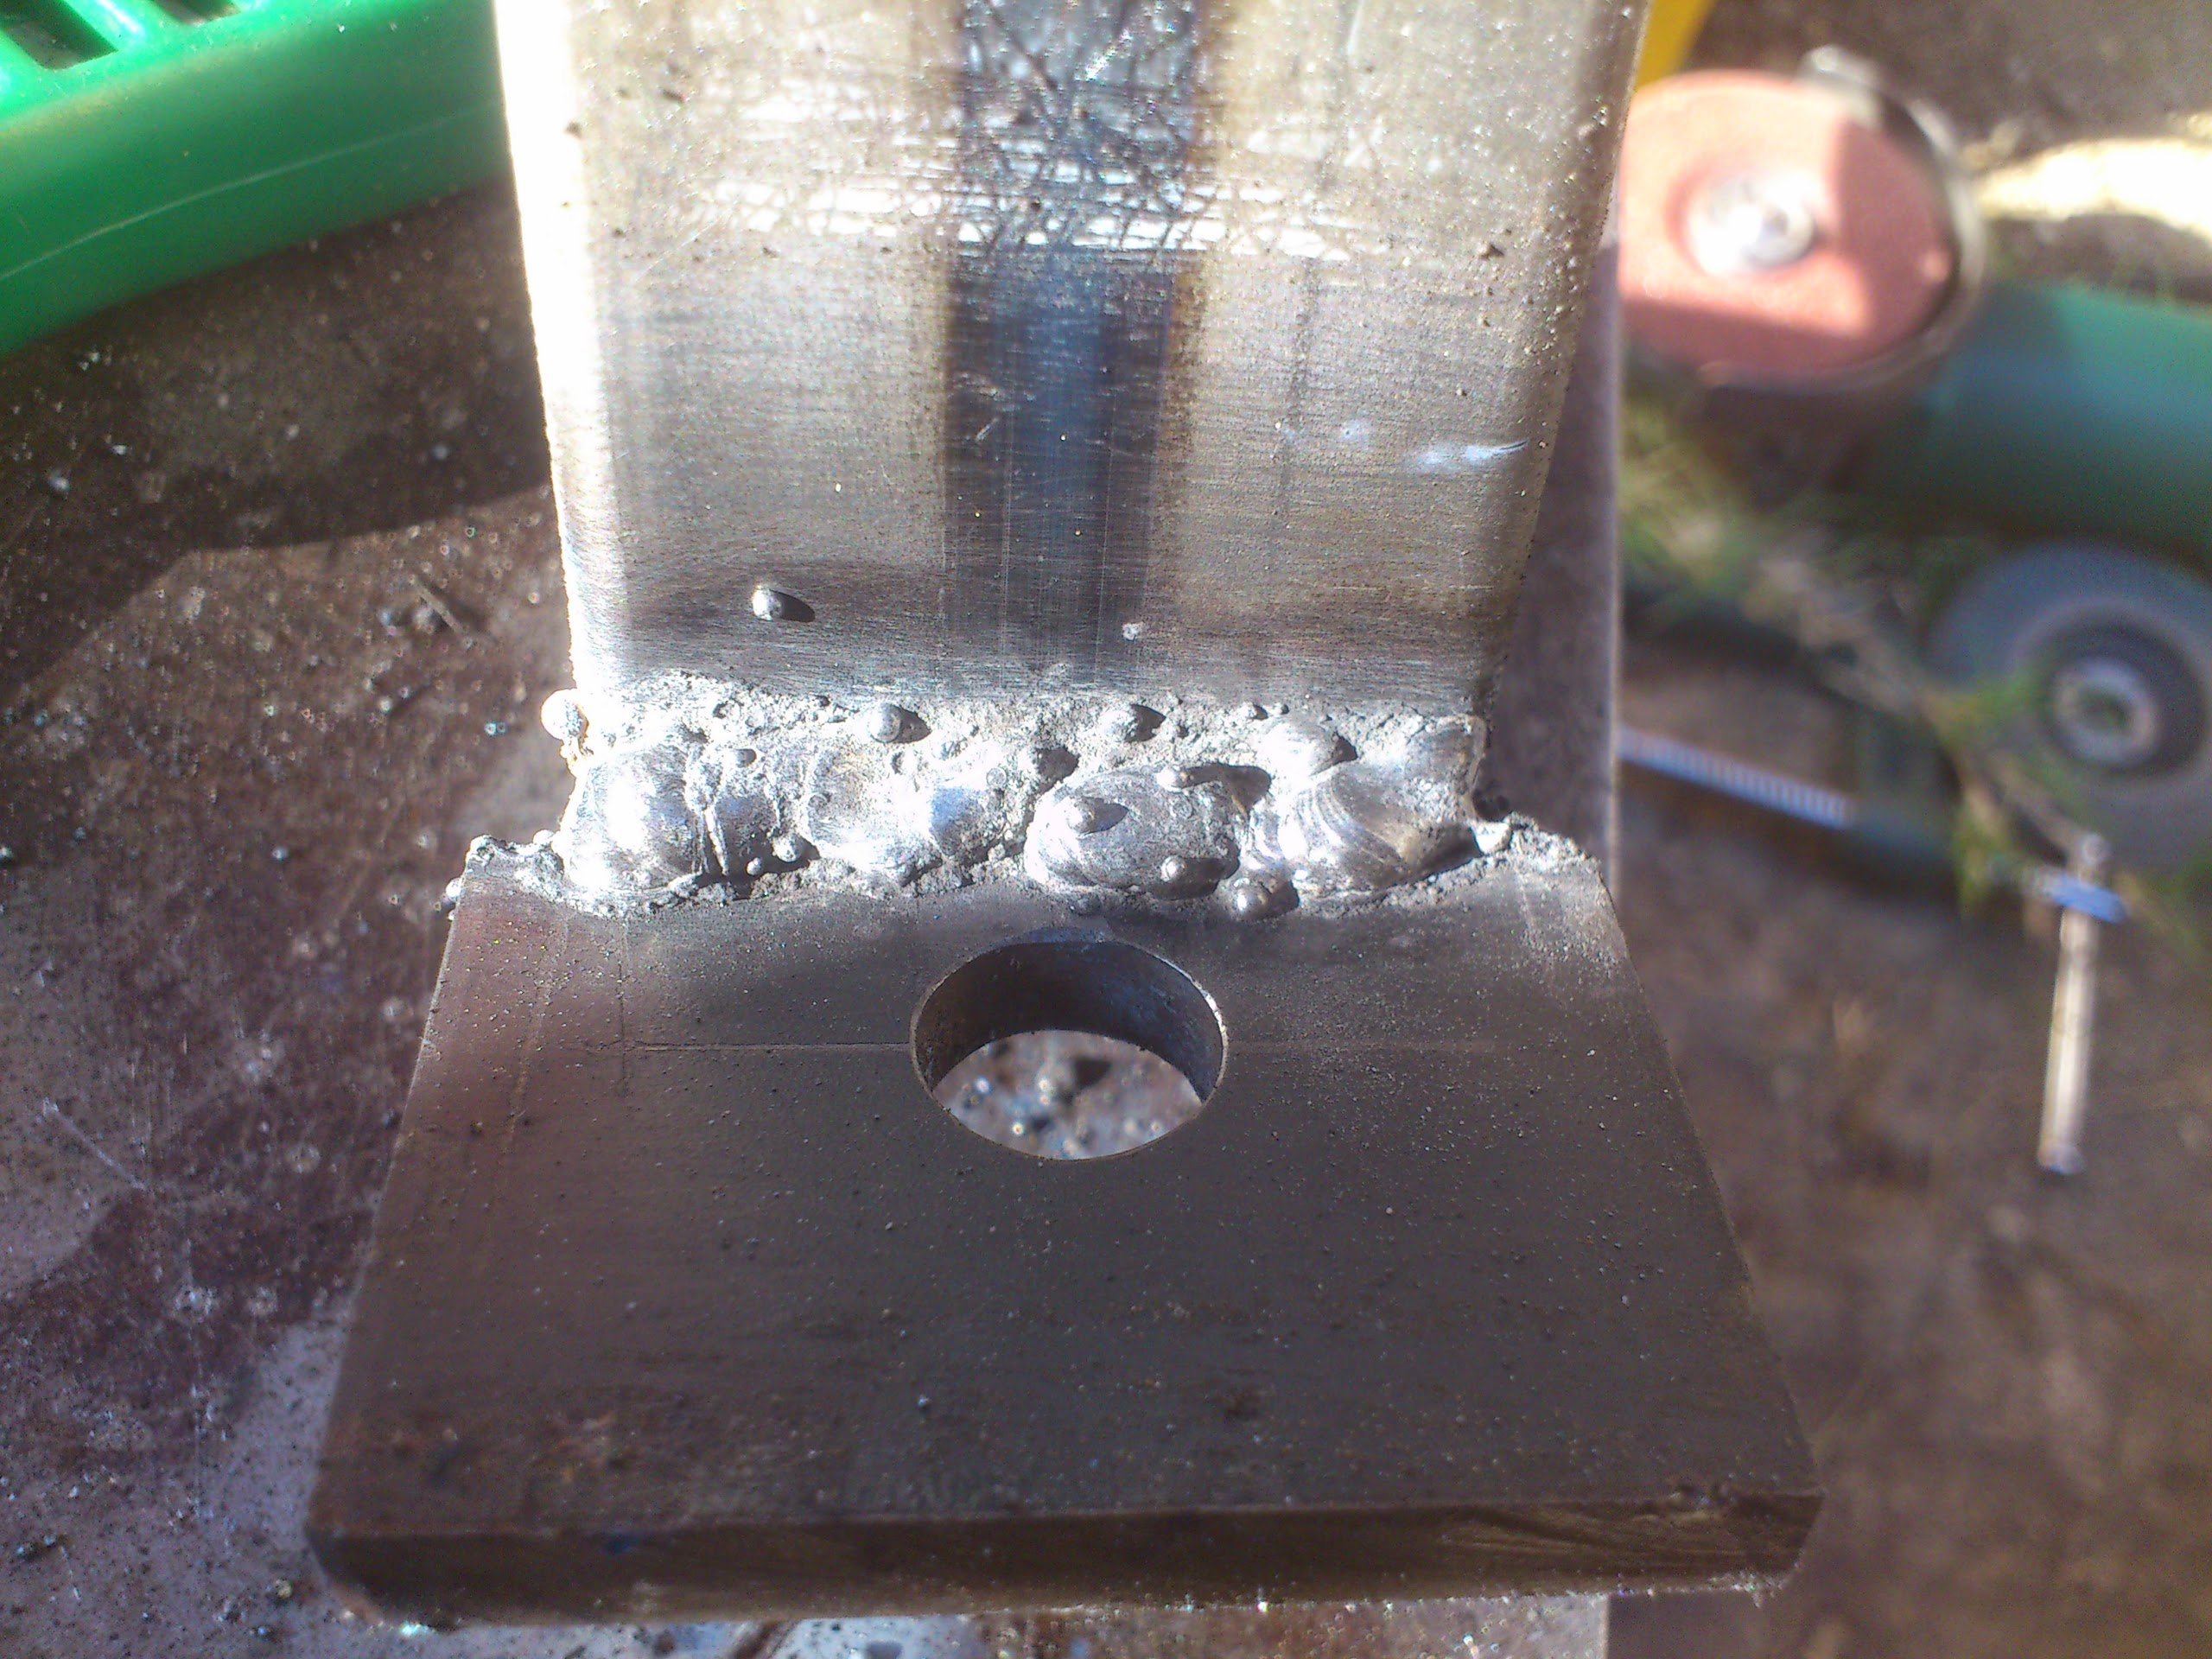
The preparation for welding the center tube and steering plate.


Then welded.


And bent the left wall and welded.


My friend gave me above way to get more stiff.
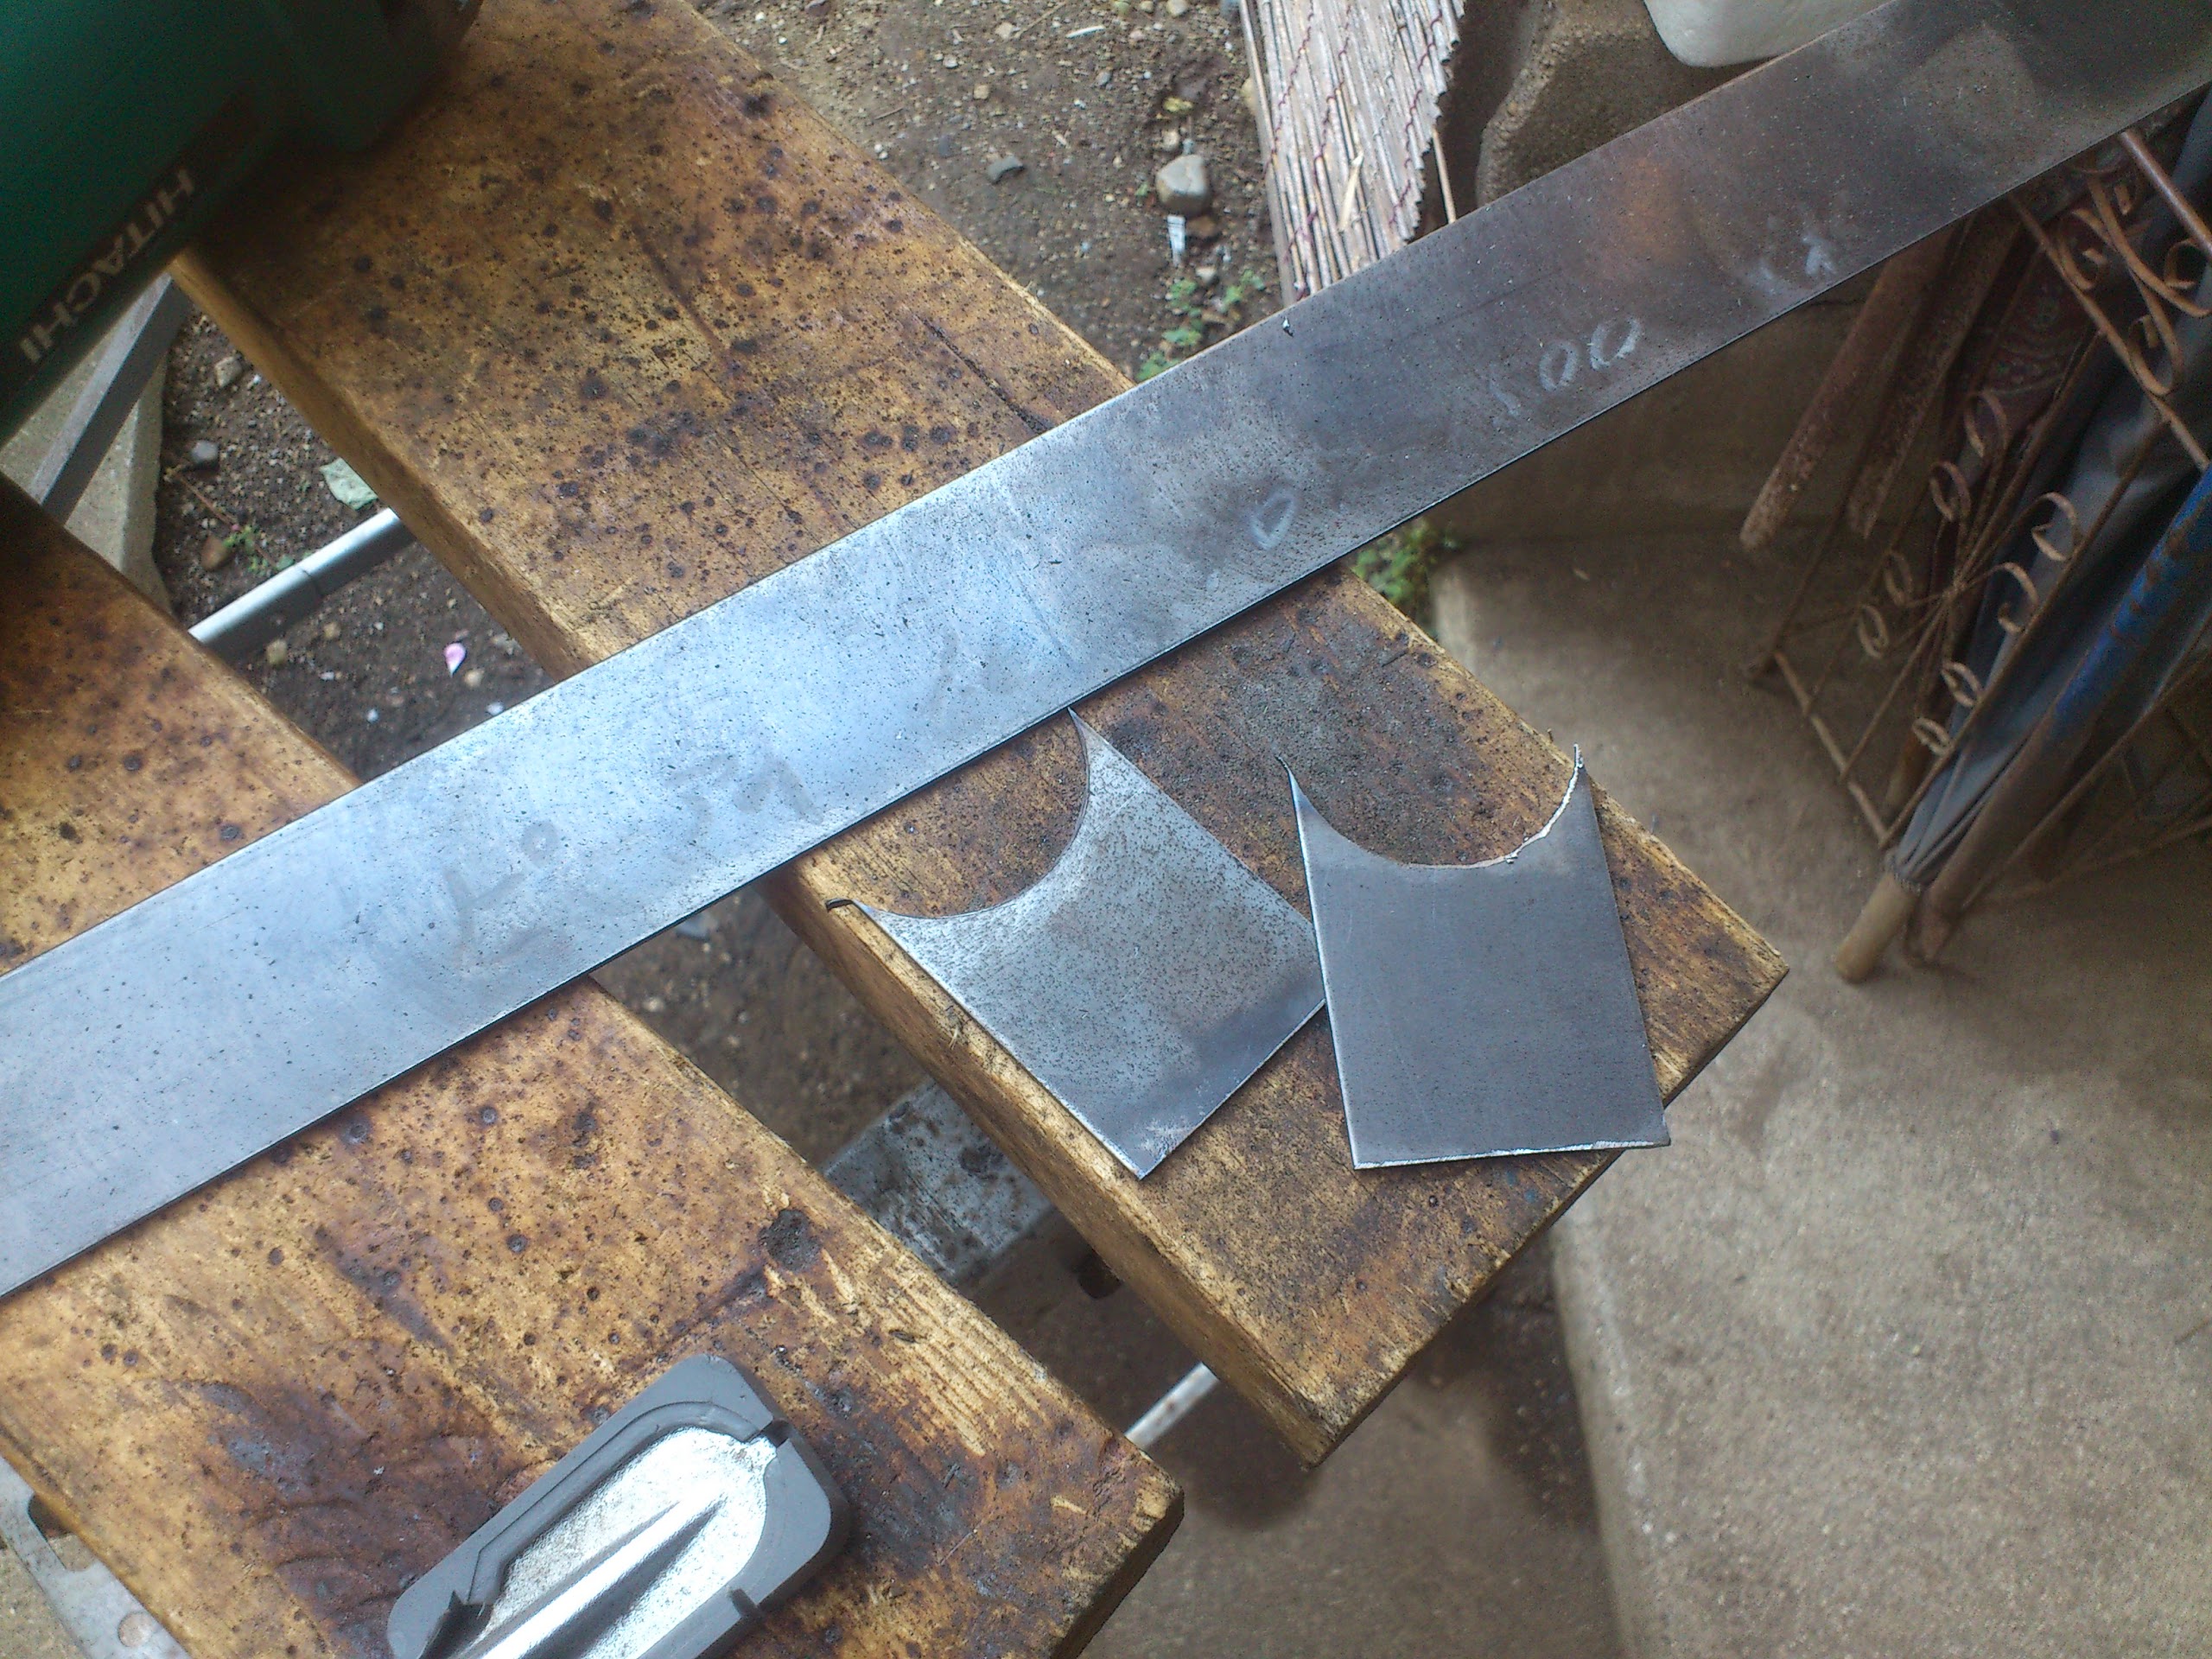
There are used fin to attach BB shell.
The iron sheet for Fender was bent by hammering.

Done. For the next step, I need English wheel. I don't have it. I'm going to borrow it at my friend's garage.

This time, 40 x 40 rectangular tube is used as the center frame.

This is for front part which will have BB shell.

There are parts for the column to attach front controller deraileur.

Two slits are made for welding.

Welded.

Then sanding.

The preparation for welding the center tube and steering plate.


Then welded.

And bent the left wall and welded.


My friend gave me above way to get more stiff.